HOW TO MAKE MODERN 3D WALL PANELLING
So I’ve had a few questions here and there about how I made the backboard for the desk in my office - you can see it over on the room reveal post here if you don’t know what I’m talking about - and though I covered it on my IG stories, I thought it would be worth popping up a little DIY project tutorial on here too.
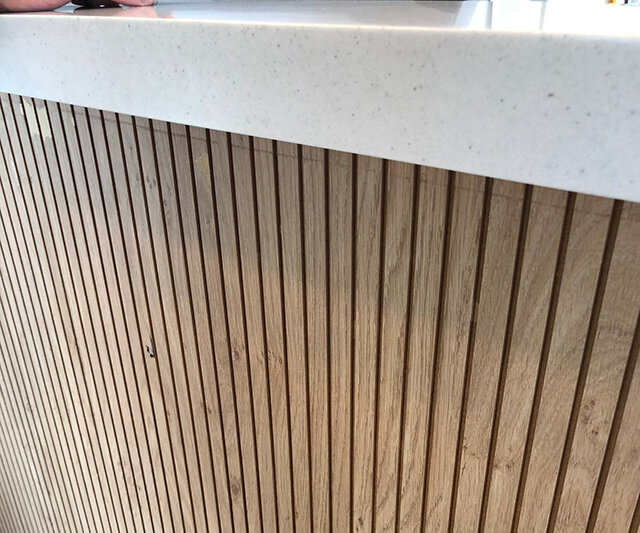
You see these sort of ridged, 3D panels everywhere at the moment, in architecture and commercial design specifically - in fact, the below was our starting point for inspiration, which was just a shop counter somewhere I snapped on my phone. When you’re not relying on colour so much in a room scheme, texture is even more important, and this offers something a little extra than a simple flat surface.
At first, we literally had no idea how we were going to do it, especially on a budget, as the individual pieces of strip wood we’d need would be so expensive to buy.
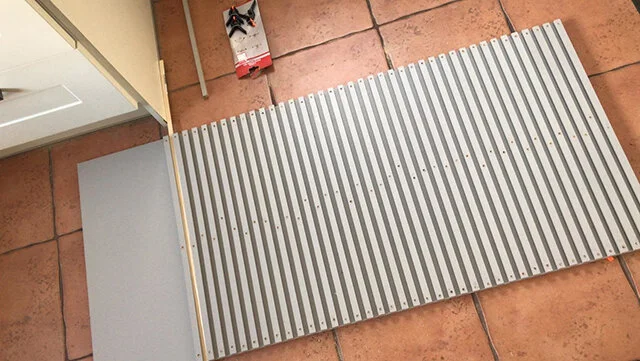
In the end, we figured if we just made it from cut strips of MDF on a backboard, that we could paint it all the same colour, instead of leaving the exposed wood grain. But pre-cut MDF strips also aren’t really a thing that exists, so we grabbed a piece of MDF and headed home to my step-dad’s workshop. We’d already calculated the amount of battens we’d need and with a circular saw and one bit of MDF, we’d cut all the bits we needed in about 10 minutes.
After they were cut, we painted them in Zoffany Smoked Pearl eggshell paint, which was gifted from Style Library - we did this just with a roller, turning the battens so that three sides were coated and painted the backboard too. Painting them before assembling the board seemed like the best way to get a good finish on the paint, especially when painting in the small gaps between the battens.
When it came to attaching them to the backboard, we actually decided to nail each piece in three pieces to it. I used a countersink drill bit to make an initial hole, meaning the nail could sit flush inside the bit of MDF. This was obviously a lot more work than glueing them DOWN, but we were just a bit wary on how these would dry, and we were using a spare batten as a spacer between, which I THOUGHT may have transferred the glue around the board and made a mess of what we’d painted so far.
It definitely felt a bit more controlled using this method than trying with the glue, and they all went on surprisingly straight - the spacer idea worked nicely. The last bit of the job was to fill in the countersink holes with wood filler, sand down and then repaint lightly over the top of the battens with the Smoked Pearl.
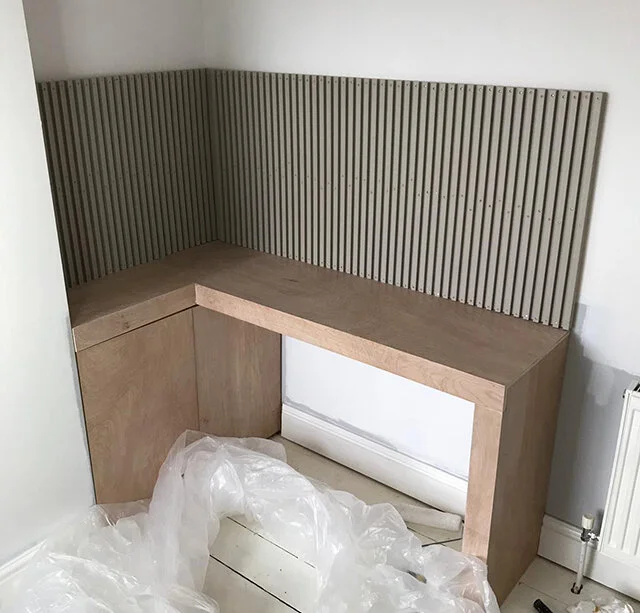
After that, we could fix the two panels above the desk. We drilled through each corner in a recess, marked the wall, then drilled into it and put in a rawl plug. We used the countersink head again on the board so that the screw could be buried into the MDF, which was then filled over and painted again.
At the end, we added a shelf to both pieces, a wider one in the alcove, which we just drilled down and screwed into the back of the back boards - it seems to hold okay! So here’s the final result.
What do you think? Fancy giving it a go? This could work for all kinds of projects - cabinetry fronts, feature walls, etc for a unique texture to bring to your space.


